This page contains instructions on how to add or update a company profile in the WCMS.
These instructions assume you are familiar with the basics of using the WCMS.
This page contains instructions on how to add or update a company profile in the WCMS.
These instructions assume you are familiar with the basics of using the WCMS.
First, sign in to the WCMS and open the site named BL-COLLEGE-WEBS.theater.
If you've set the Theatre, Drama, and Contemporary Dance site as your default site, you will be directed straight to the dashboard.
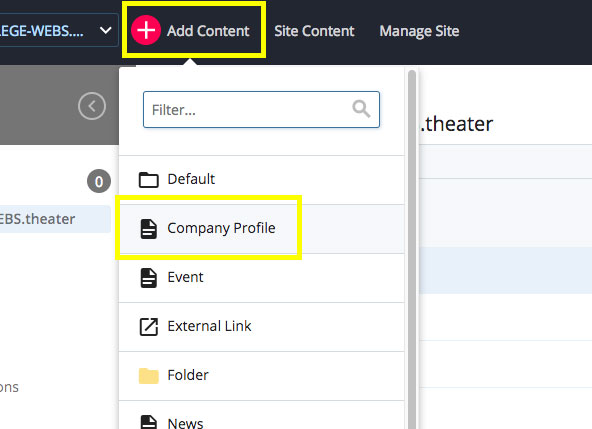
Click the Add Content tab near the top left side of the screen.
In the drop-down menu that opens, click Company Member. A window will open with (mostly) empty form fields in which you can enter your company member information.
Each company member profile in the WCMS has a page name, placement folder, and display name.
lastname-firstname.about/company folder, which is broken up by first letter of the company member's last name.Taylor Blue.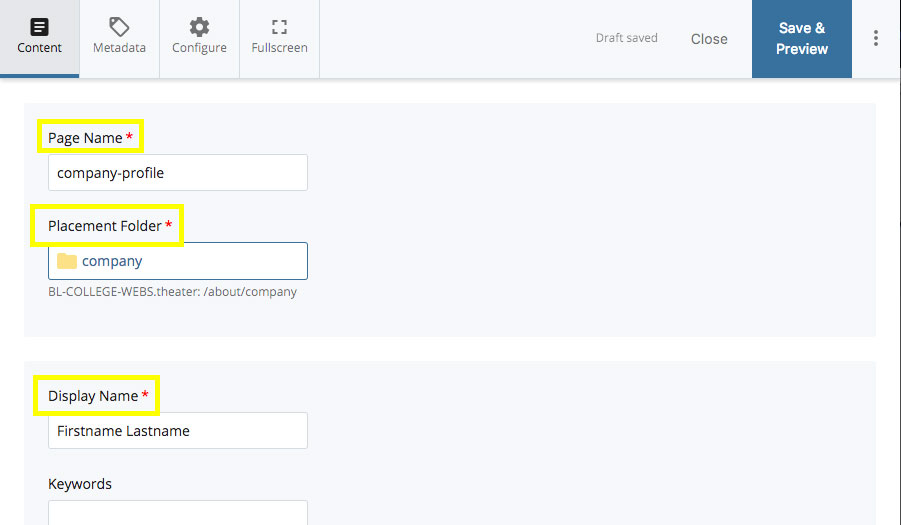
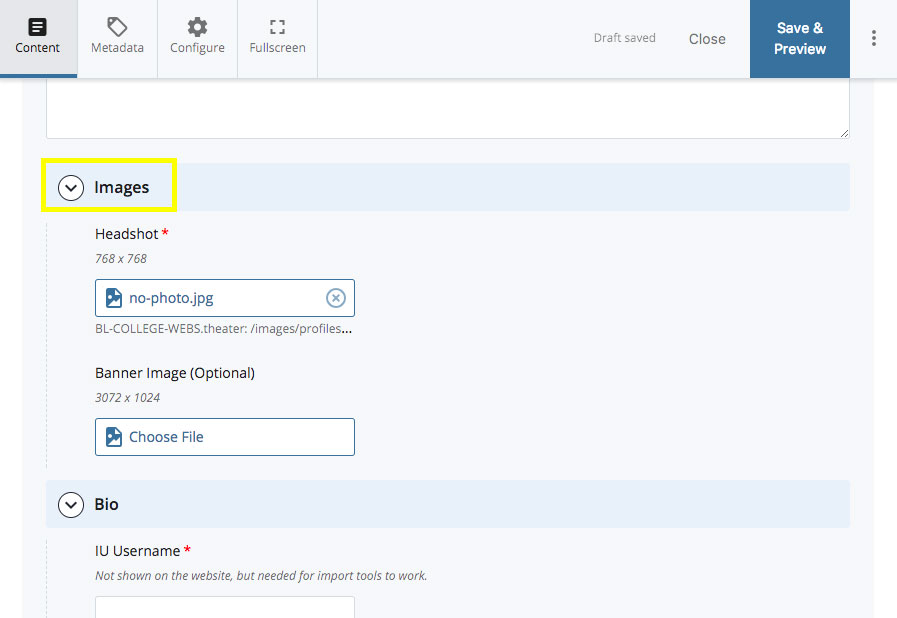
Learn more about cropping, compressing, and uploading images.
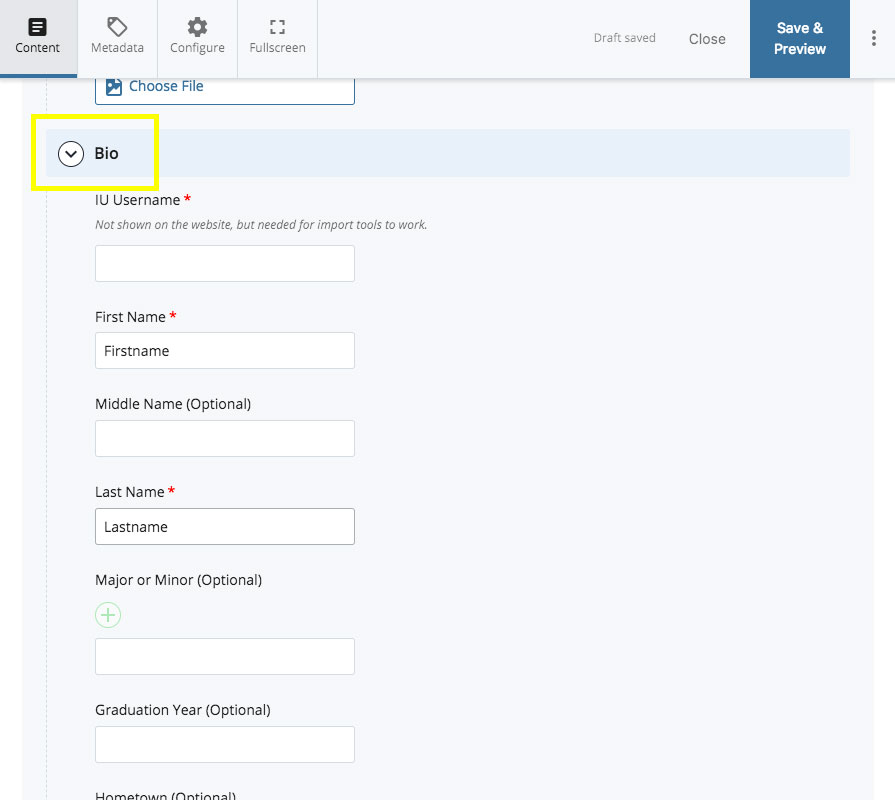
Enter the company member's biographical information, such as name, major, and hometown.
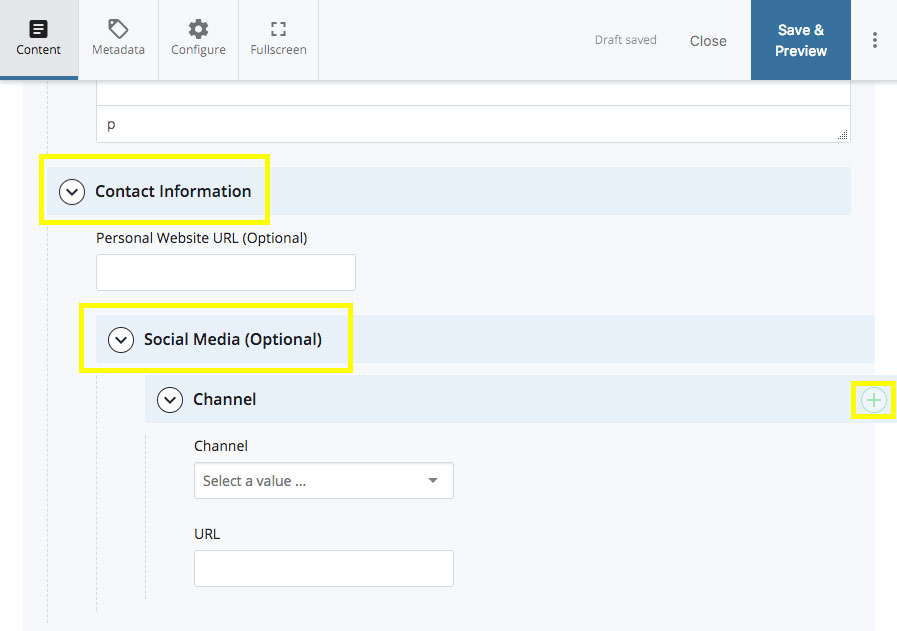
If the company member has a personal website, you can paste the URL here. Be sure to include the http:// or https://.
If you'd like links to the company member's social media accounts to show on their profile page, you may add them here as well. Added social media links will appear as icons on the company member's profile page.
You can add more dates or date ranges by clicking the plus near the top right of the Channel box (highlighted below).
You can add any number of extra sections to a company member's profile, including slideshows and embedded video.
Learn more about the different section types in the framework.
Learn more about publishing pages in the WCMS.
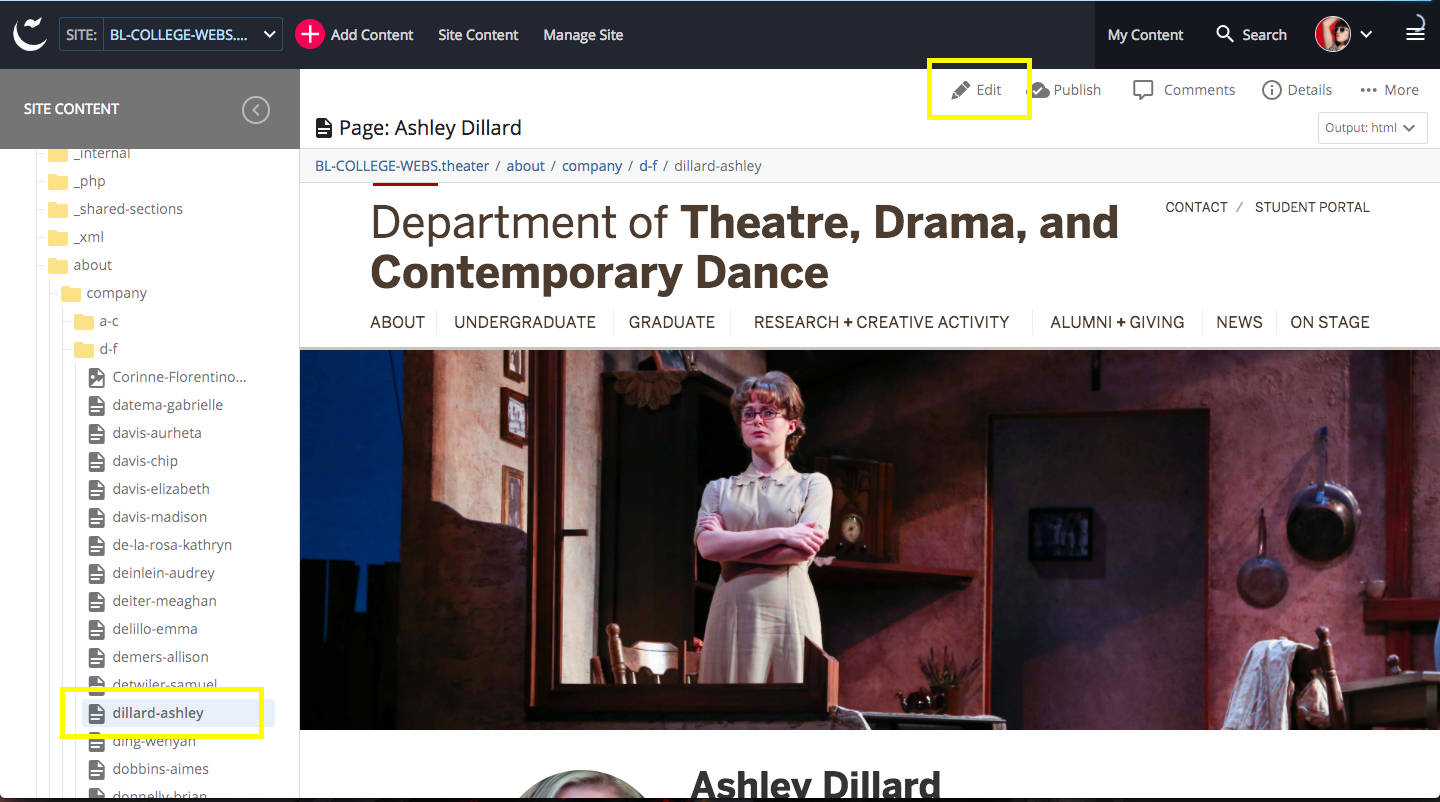
To edit a company member that already exists, find the profile you want to make changes to in the about/company folder.
Click on the company member profile page to open it, and then click the Edit button near the top right of the page.
The form fields are the same as when you're adding a new company member.
Click the blue Save and Preview button near the top right of the Edit window to preview your changes, and click the blue Submit button (also near the top right of the page) if your preview looks good.
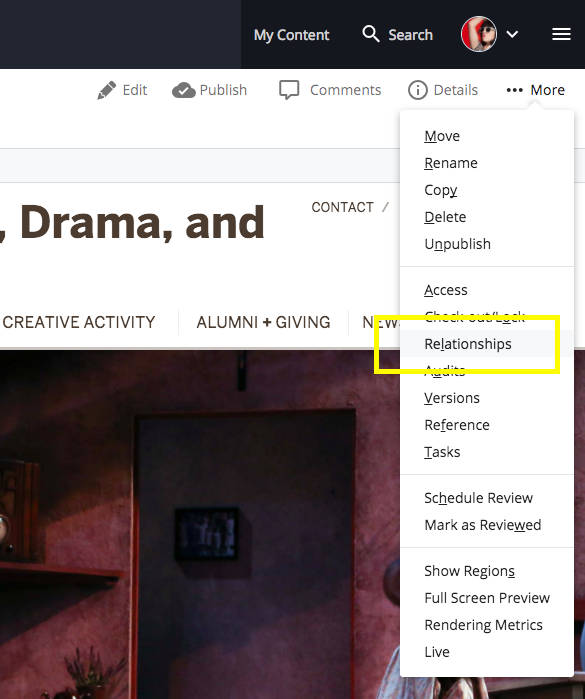
When you update a company member's profile, you'll need to re-publish any production pages that they appear on.
To do so, click on the More tab near the top right of the screen, and then click Relationships.
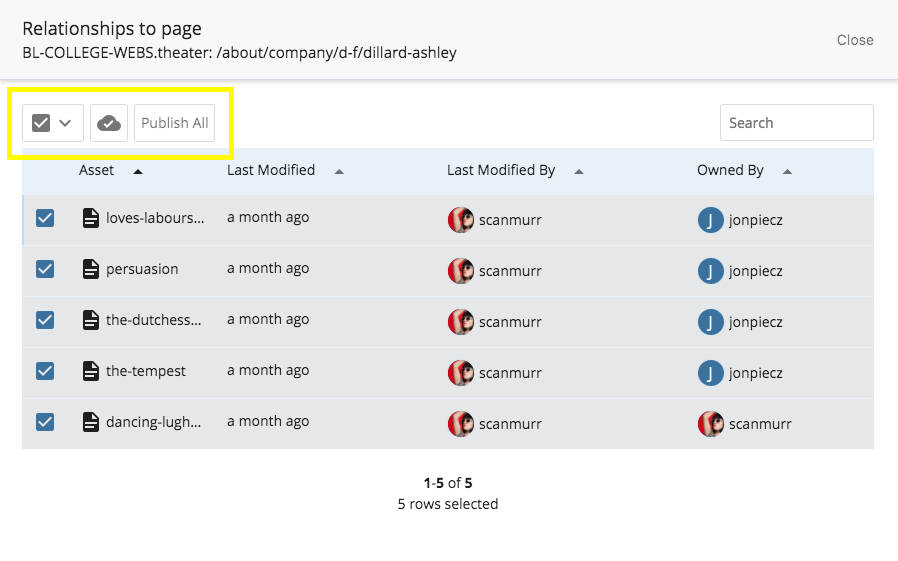
On the relationships page, select all of the productions shown and click Publish All.
 The College of Arts